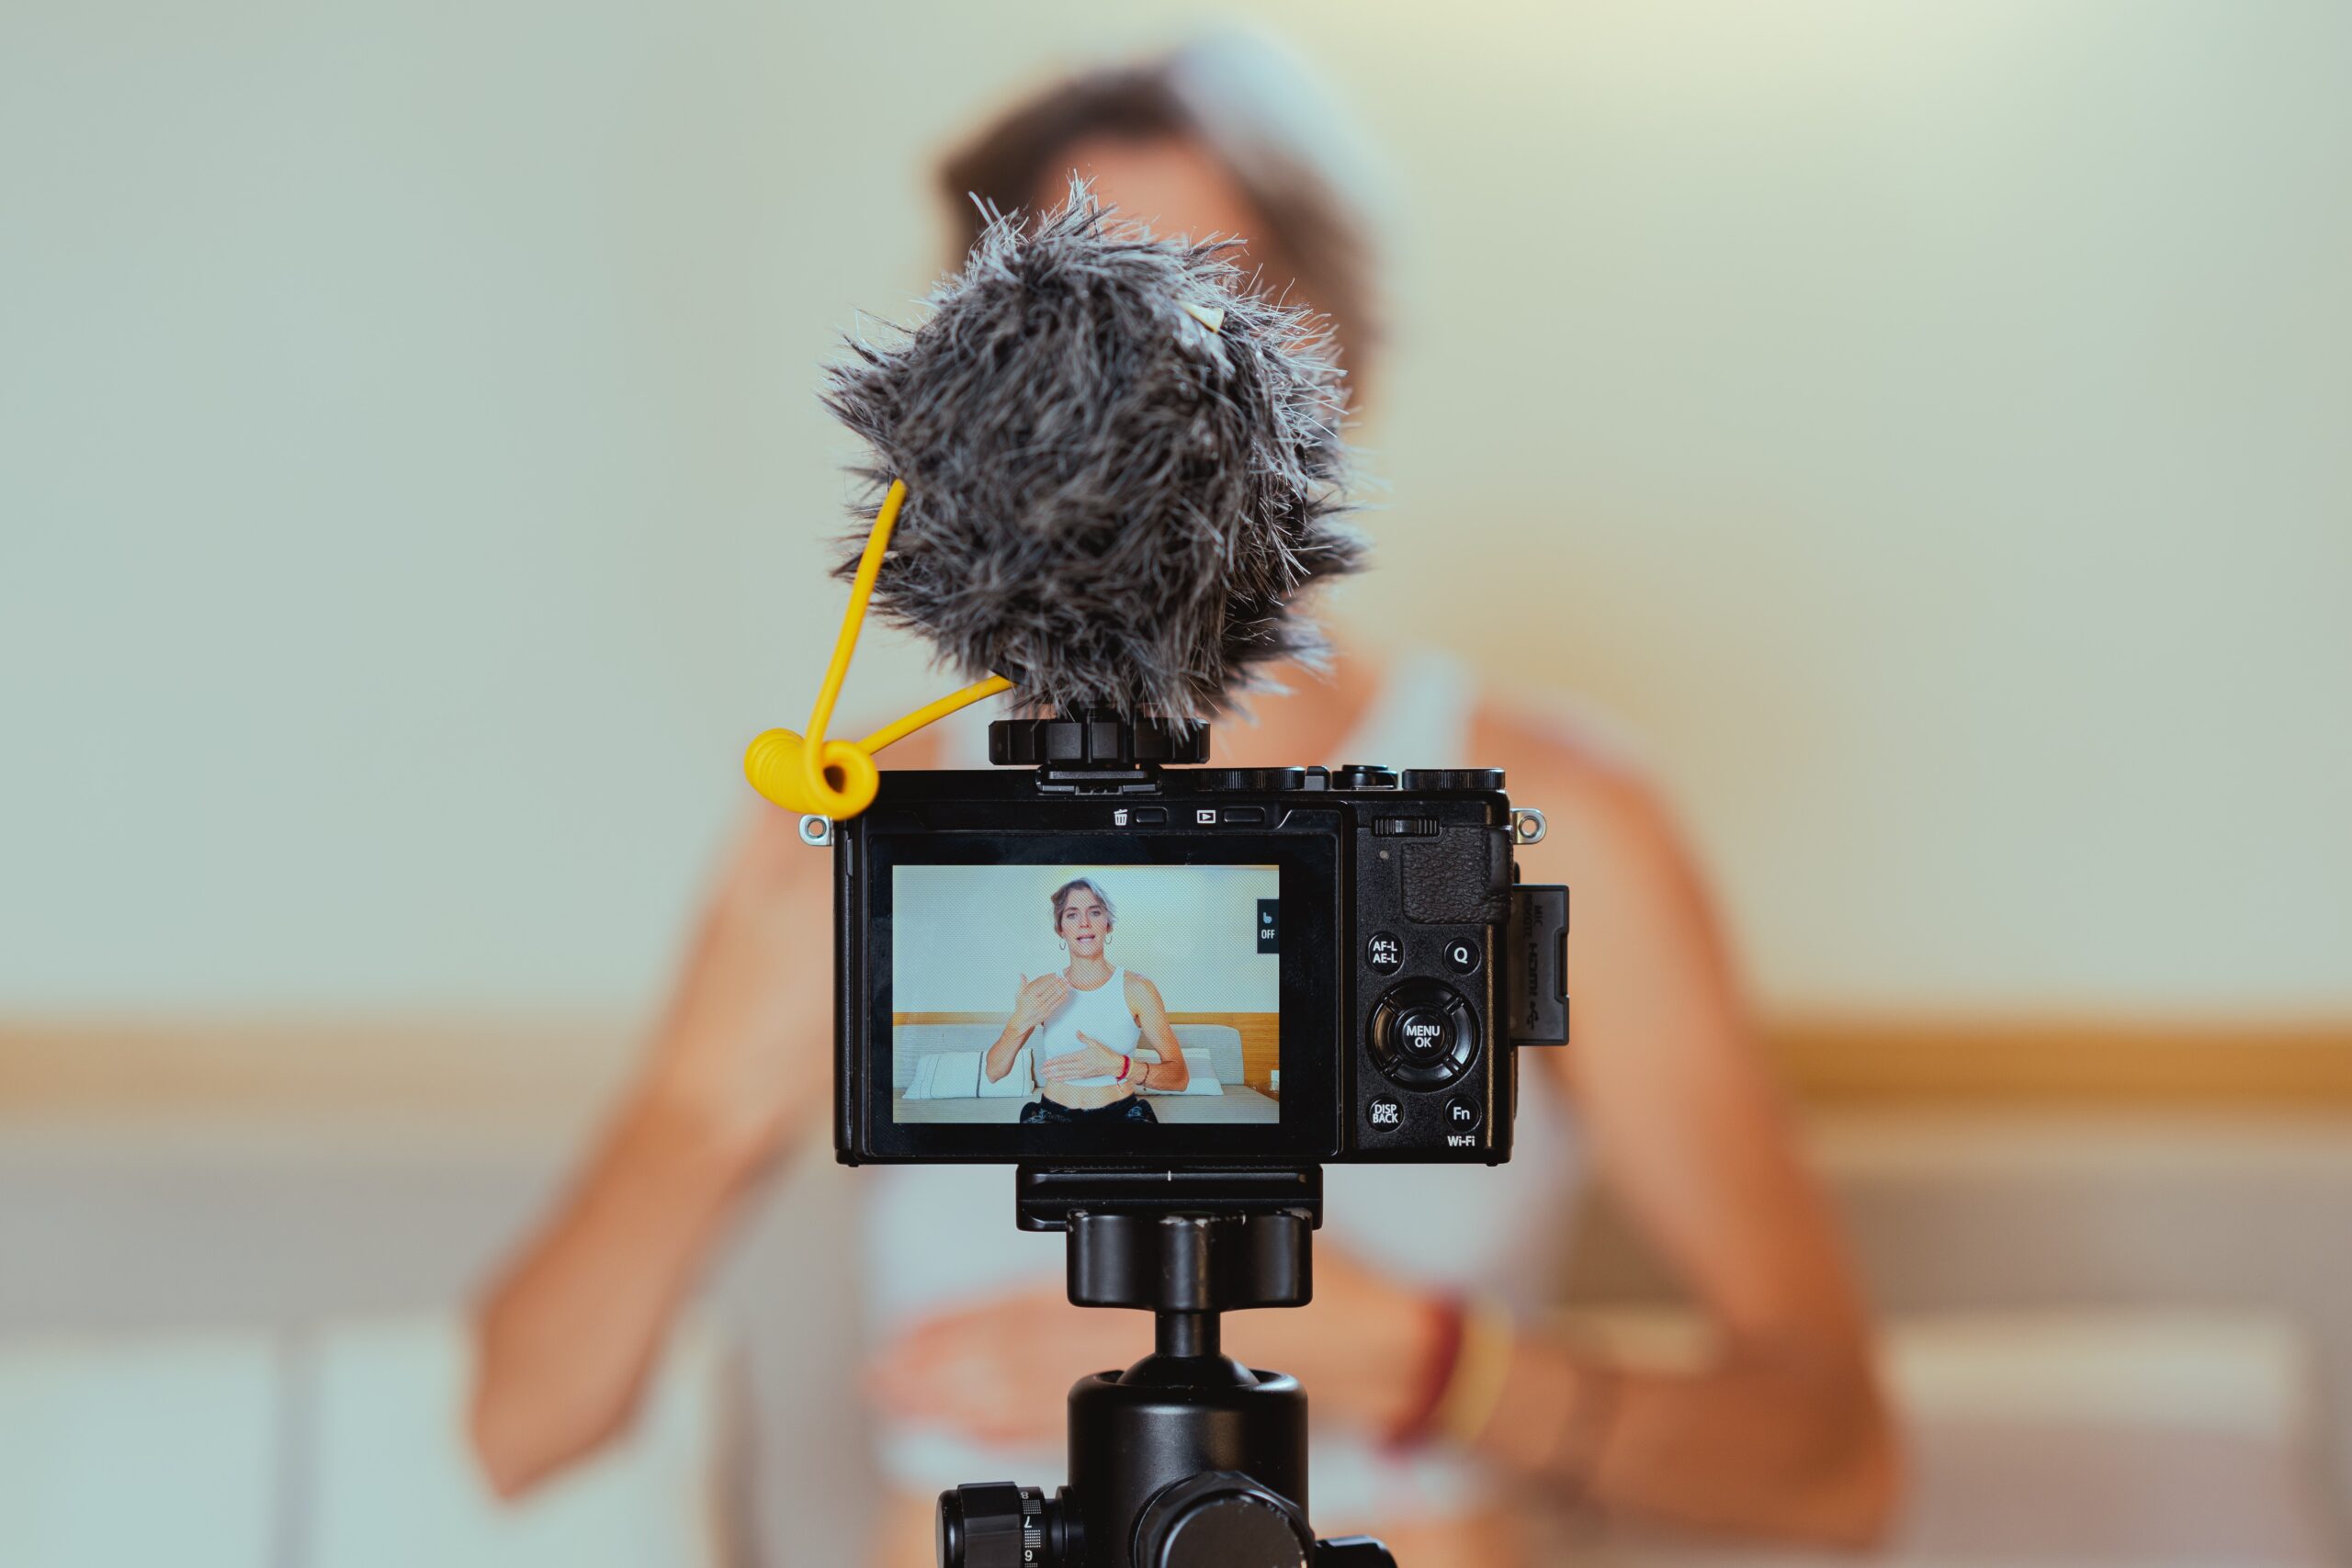
The newest development in multimedia generation and distribution is live streaming. Watching an unfiltered webcam live stream in real-time appeals to viewers all over the world because it seems more genuine. More than half of marketers say live streaming is their favorite method of content distribution online.
When you want to engage with and address your audience personally, webcam live streaming is a terrific way to do it. When you’re not shooting off a pre-recorded, edited, and orchestrated video, engaging with your viewers is much easier. When you have a location where you want to record and share what is happening in real time, like with a nature camera, you can also set up a continuous live webcam.
Even while webcam live streaming has numerous advantages, mastering the necessary technical skills might be difficult. Live streaming has the potential to expand your horizons and create new sources of income.
You are unsure of how to set up a live webcam feed and what tools you will need for it. Livestreamers, continue reading! We are here to walk you through the steps of setting up a live feed camera and broadcast webcam, covering everything from selecting a hosting service to promoting your live stream. Additional insights on Streaming – check out our site on Timeline of the Rise of Streaming.
Why Would You Use Live Camera Feed?
An ongoing live broadcast that is recorded on a camera is known as a webcam live streaming setup. In case you’re not familiar, a webcam is a digital camera that, when attached to a laptop or computer, can take pictures and videos.
A webcam live feed’s main function is to establish a connection with your audience by providing them with easy access to your venue or exhibit.
A webcam can be used for a live feed as well. Webcams are frequently used for things like:
- Nature cams
- City cams
- Animal cams
A 24/7 webcam live stream is intended to allow you to keep an extended eye on a certain area or location. Live streams are beneficial for businesses as well as for observing nature.
For instance, private live streams of classrooms can be broadcast by schools and daycare facilities. This enables parents to check in on their children remotely during the day to see how they’re doing. Live cameras could be used by creative firms like glass-blowing workshops to display the creative process.
Live streaming from your phone or laptop is one advantage of using a camera for streaming. A webcam is typically not required to utilize an encoder because they are digital cameras. That indicates that no conversion is required because it captures “streamable” content. fewer technical expertise and less equipment are required for live streamers and content producers to start a live streaming webcam setup.
How to Set Up a Webcam Livestream and Live Camera Feed
Let us look at how to set up your webcam live feed.
1. Choose an Online Video Platform
It is essential to select a trustworthy online video hosting service with live streaming capabilities for your video feed.
The webcam live-streaming platform you choose can have a big impact on the video quality and viewing experience of your viewers. Make sure the forum you choose can accommodate the kind of live streaming you want to do.
A platform that enables live streaming and one that supports linear or continuous live streaming is required if you wish to run a continuous live camera.
A platform that enables browser-based streaming, also known as webRTC, is one of the key aspects to search for. You don’t need any additional live streaming software when using browser-based streaming because you may start to live broadcasting right from your web browser. Webcam feeds are now simple and available as a result.
Additional characteristics to consider in an online video platform include:
- the most adaptable and compatible video player is HTML5
- a user-friendly live-streaming service
- Strong video CMS
- features for privacy and security
- Access to APIs for customization
- streaming with a white label
- 24/7 technical support
Additionally, you should select a streaming solution from a trustworthy content delivery network (CDN).
With a CDN, you can broadcast your content live around the world without worrying about your servers getting overloaded. For instance, Dacast collaborates with prominent video CDNs like Akamai, Limelight, and others to transport content internationally.
To find out more about Dacast and how it compares to competing products on the market, visit our comparison post on online video platforms. Spend some time deciding on a reliable internet video platform that will make running webcam streaming simpler. Diecast offers a free 14-day trial if you’re on the fence about using our service so you may invest in the platform with complete confidence.
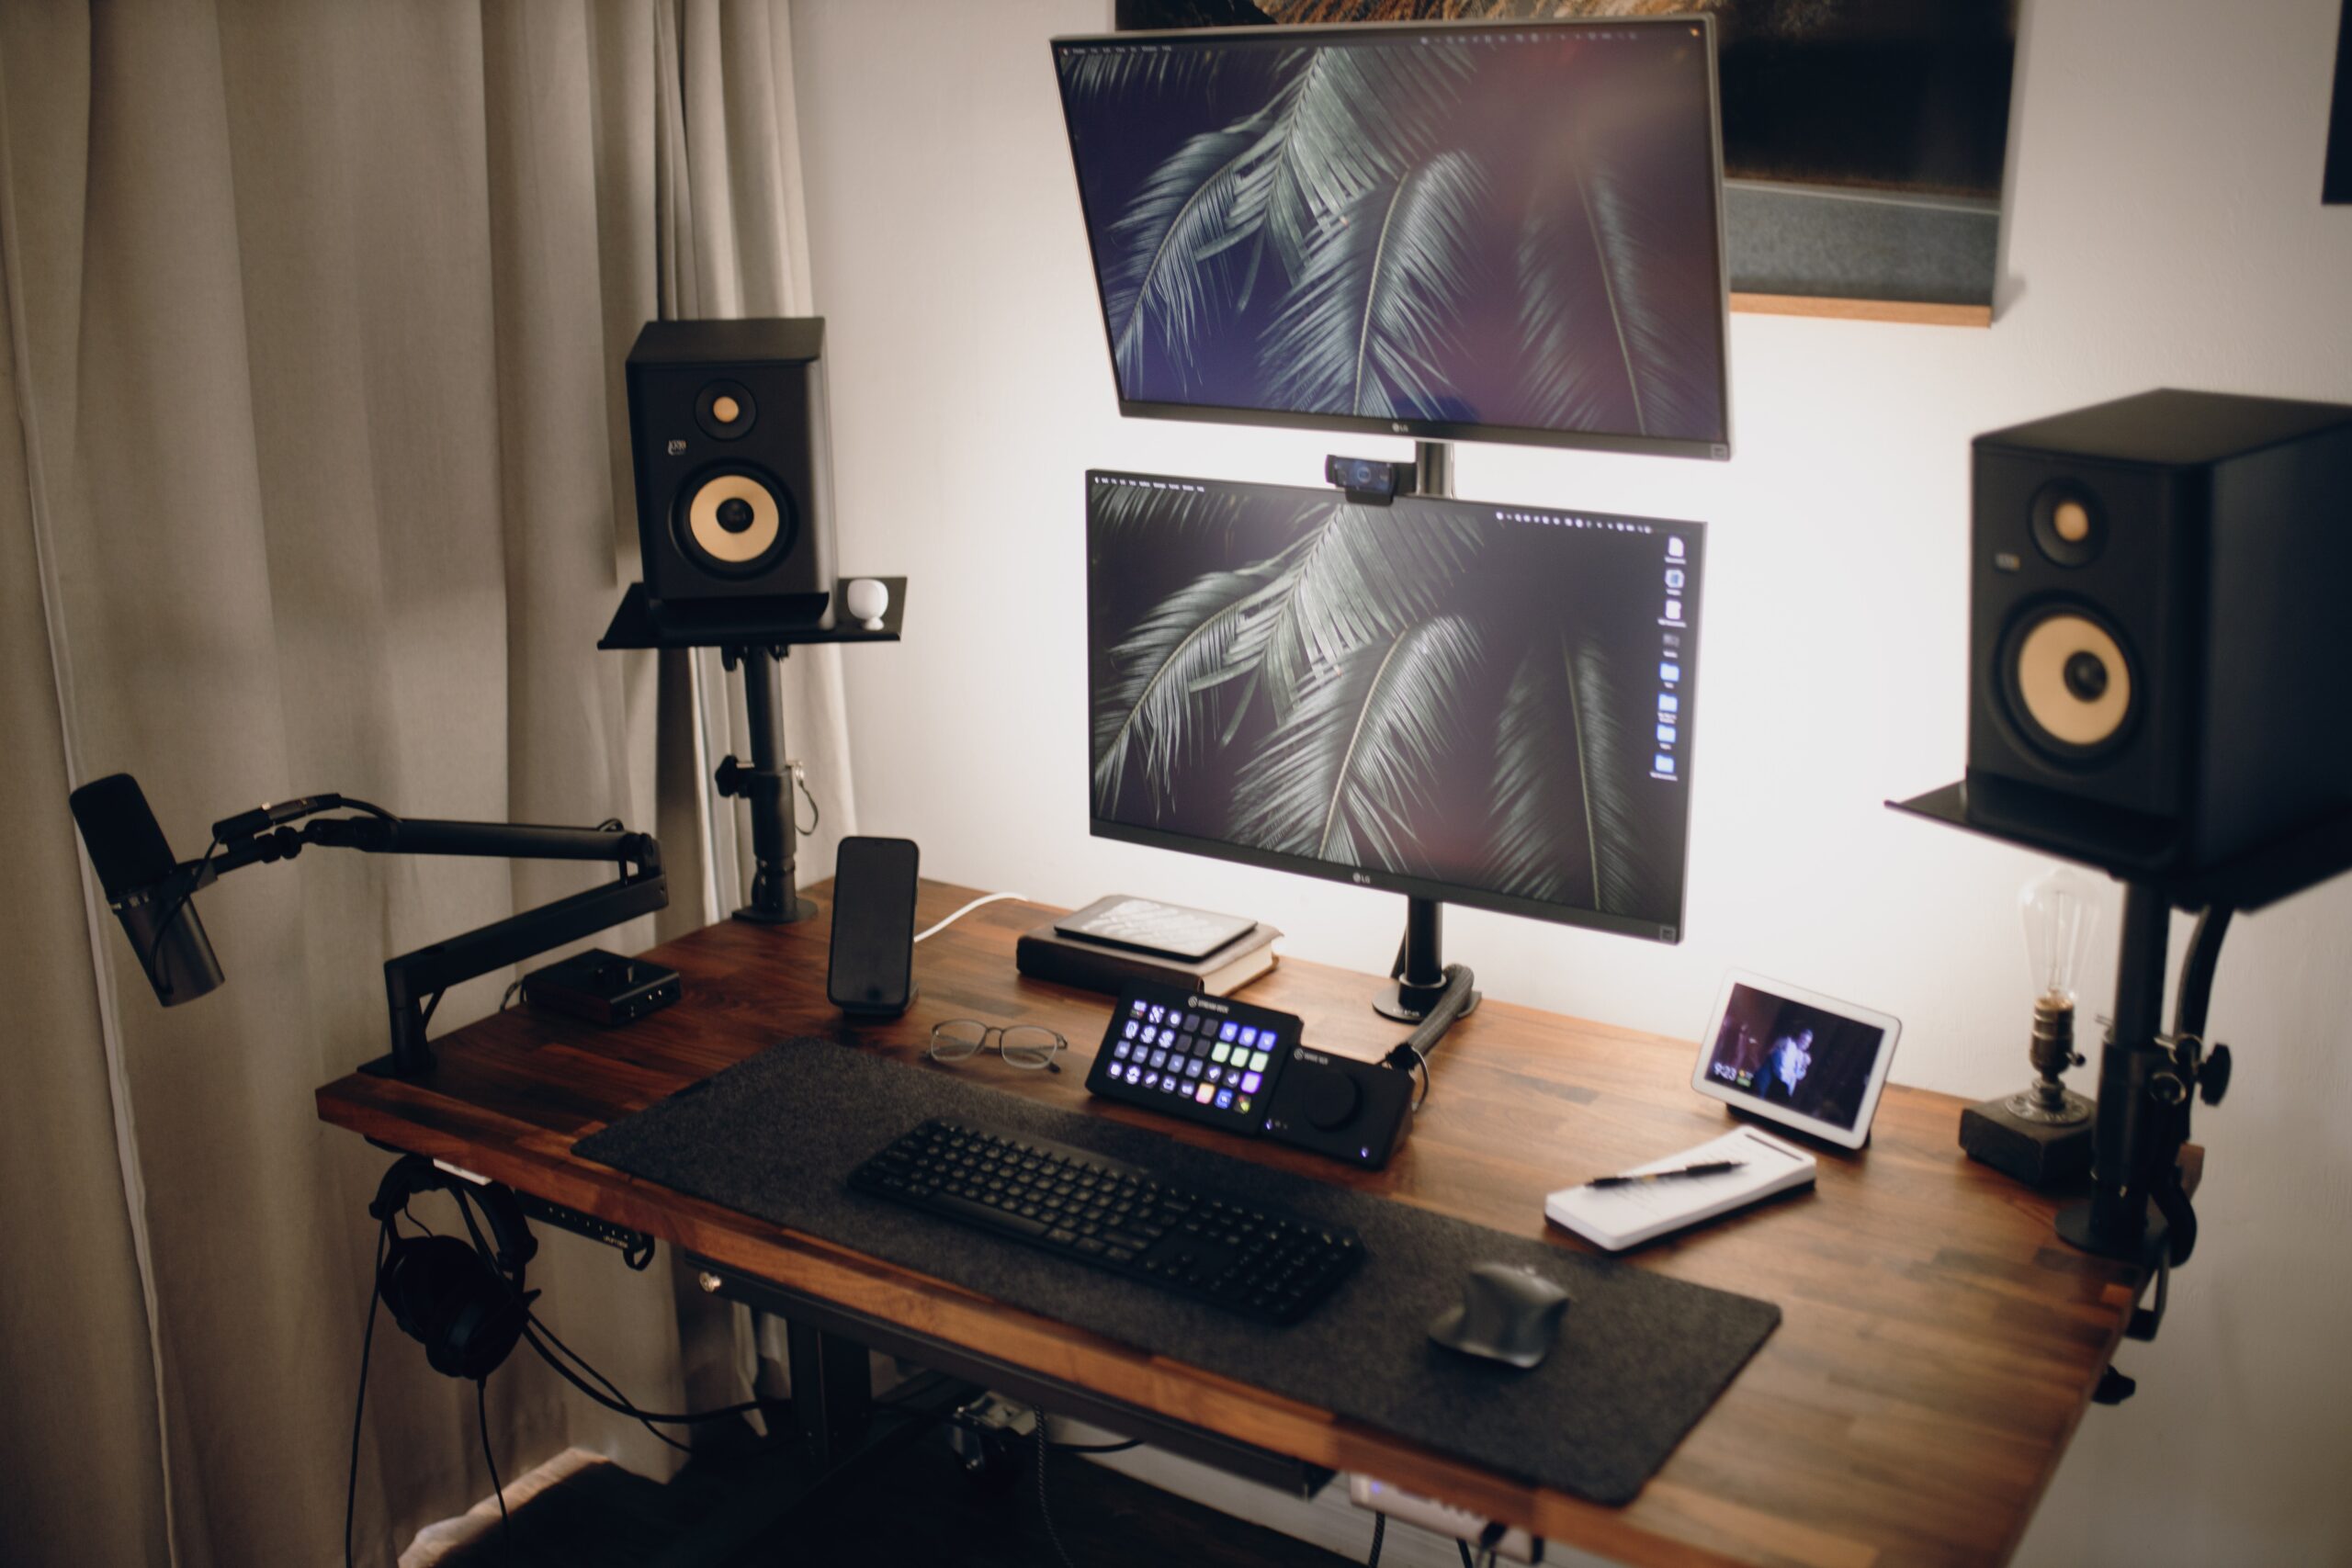
2. Discover How to Configure a Live Webcam
It is easy to set up a camera for live broadcasting. As was already mentioned, a good webcam is required for broadcasting. You might not need a microphone, depending on your approach. Many live feeds are produced without any sort of audio.
Indoor Webcam
You have a lot of flexibility with your camera placement, audio quality, and footage when broadcasting indoors. Your broadcast can use almost any webcam.
Professional cameras can also be used, but if you do, you will need a capture card to guarantee quality and encoding equipment.
Outdoor Webcam
Learning how to set up an outdoor webcam is simple if you follow our instructions for IP cameras streaming.
IP cameras or security/surveillance cameras are a wonderful choice if you are streaming outside. They provide location flexibility and stealth, which is especially useful if you want to transmit vivid, colorful video. Compared to most sources, they stream a little differently. If you choose to take this route, we advise reading our guide to IP camera streaming.
Make sure you’re looking at IP cameras that are compatible with your online video platform and operating system when you compare webcam options at various pricing points.
Using a Streaming Platform to Connect
Connect your video capture device to your internet video streaming service once you’ve made your decision. It will be connected as an input or a source. The language used changes depending on the platform.
If you wish to stream live continuously, you can either hire a cameraman or set up the camera in a safe location.
Additionally, make sure your streaming setup is protected from the environment and that, if necessary, your streaming equipment can withstand adverse outdoor conditions. You can never predict when it will rain or get worse. You must consider the weather’s fluctuation while setting up an outdoor webcam for live broadcasting.
3. Secure an Internet Connection
Today’s viewers have a wide variety of live-streaming choices. Make sure you never lose viewers as a result of a sporadic or sluggish internet connection.
When streaming live video, a strong connection is essential. Some of the worst things that can occur during a live broadcast include blackouts and blank screens.
The best internet options are:
1. Tethered ethernet
2. WiFi
3. 5G wireless internet
The most dependable internet connection is tethered Ethernet, and wifi is a close second. For live stream cameras, a reliable internet connection is necessary. You should monitor your upload speed closely no matter how you proceed.
It is advised to pick an upload speed that is almost twice as fast as the live-streaming session will require, allowing you to comfortably use 50% of the speed. If you need to use more, that will take advantage of excellent scalability choices without requiring any modifications to your current setup. Up to 80% of your internet connection speed can be used for this. For instance, a 1,000 kbps connection would allow you to stream at speeds between 500 and 800 kbps.
4. Set Up a Live Channel
It is time to set up your live channel after you’ve installed your internet and other necessary hardware. Utilizing your online video platform, you may do that. While the procedure differs from platform to platform, Dacast users can refer to our live stream setup guide for a step-by-step tutorial with illustrations.
You will be requested to set up your live channel according to your preferences regardless of your streaming platform. Your live channel can have a name and a description. Another thing you should check is if your live channel is set to “Online.”
Here are some pointers for crafting a succinct channel description that will inform viewers of your channel’s focus and make it easier for users to find it in search engine results:
Complete Keyword Research
Complete keyword research to discover the keywords that are popular in your business and to better understand the needs of your audience. High search potential keywords are what you want to use.
Be Particular
The time has come to identify your specific specialization. Make use of precise keywords that are connected to the material you’ll be using on your channel.
Specify your Value Proposition
Explain to visitors the benefits of your content. Or, put another way, market your live streaming services like you would a product. What will they learn from your live stream? What will people learn by viewing your content, exactly? What benefits may they get from watching your live stream?
Add a Call to Action
Your channel description should include a call to action. Add a CTA that appears to be the logical next step to make it easier for your readers. Do you want visitors to your blog? acquire something? Make a social media connection? Inform them!
5. Embed Your Video Player
You can create an embed code and share a link once your channel is online. Using the embed code, you may add your video player to your website or application.
You will need to select an embed code first. There are two sorts of embed codes: JS (Javascript) and iframe.
Because the JS embed code is more widely compatible with the full-screen feature, we advise using it. The URL referral limitation feature, which limits content depending on the websites permitted to host it, also depends on the presence of the JS embed code to function.
Even though the JS code is better suited for stream content, there are some particular circumstances in which you ought to use the iframe embed code. Some frameworks, like WordPress and WIX, are more compatible with and/or demand the iframe embed code.
Once you’ve decided on a code, adding it to your website’s HTML is as easy as copying and pasting. In our lesson on embedding video players, you can find additional information.
You now understand how to set up a live camera and begin live streaming after completing it.
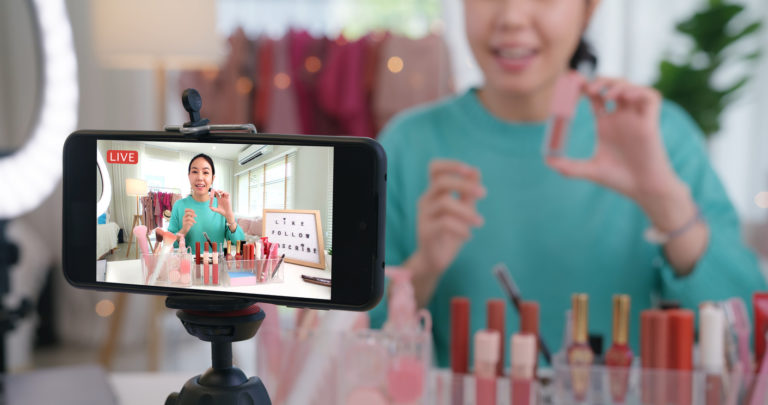
6. Advertise Your Live Stream
The next step is to advertise your live stream so that viewers are aware that you are going live. Here are a few of our favorite techniques to advertise your live-streaming content:
- Plan out when you will stream because not all times are made equal. Even while it can be fantastic to go live on the spur of the moment, scheduling the times you go live will increase the number of viewers. So, viewers will be aware of when to tune in.
- Share it on Facebook. One of the biggest networking sites on the internet is Facebook. Make sure to take advantage of that. Make a post with a link to your stream even though it might seem too commonplace. By simulcasting on Facebook Live, you can increase your audience.
- Twitter is fantastic for real-time updates, so tweet it out. Utilize hashtags to your advantage by creating one for each live stream you upload. Tweet a link to your live broadcast along with hashtags related to your sector. As you gain subscribers, make a unique hashtag just for your channel so people can look it up and learn more about it.
- Make an interesting thumbnail. Thumbnails give all potential readers an introduction to your material. When you share your live video material on social media, the thumbnail will be shown. Make sure your live stream-related photographs and a brief text description are included in your thumbnail.
- Discord and WhatsApp are only two examples of online communities where people congregate. Before going live, make sure to share your live stream in the communities you are a part of.
7. Test Your Webcam Setup
Now that everything is set up, a test run is necessary. To find weak points in your streaming setup, test it all.
Make sure your test run is at the same time of day if your live stream will only last a portion of the day. You should also have a ring light on hand in case of emergency. To be sure you can generate a high-quality live stream all day, you must conduct a more thorough test with a webcam that is always on.
You can now get a sense of the lighting and audio conditions. If you intend to stream continuously, test it out for a whole day and keep checking in.
You can find setup issues and create appropriate backup plans by doing a test run. Determine whether it would be better to have a backup on hand or to replace it entirely if you found any weak links.
8. Launch the stream
The hard labor is finished now. After making sure everything functions as it should, you may begin streaming. The majority of live streaming services only require you to click “Start Streaming” to get going.
To make sure that everything is configured correctly, go back through all of your configurations if you are having problems getting started.