A good safe installation is key to assuring your safe stays where it is. Properly bolting down your safe to a wood or concrete floor will help prevent it from being carried away by burglars. Don’t assume that your safe is heavy enough that it will not be stolen. I have been to a robbery a few years back where 2 – 2,000 pound safes were stolen in one night. Moving a safe of this weight is difficult, but it can be done with a little know how and the proper equipment.
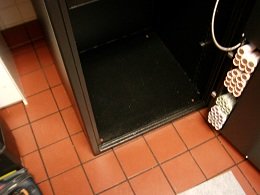
The first thing you need to consider is where you will locate the safe. Be sure to take into consideration how close the wall is on both sides. If a wall is too close, it may be difficult to get in front of the safe to dial it open or the safe door may not open completely. When you have identified a place for your safe – move it to that location and test everything and make sure you will be happy with it there.
In most cases a safe installation will be done into a wood or concrete floor. For wood floors, large lag bolts are commonly used to secure the safe to the floor. For concrete installations concrete anchors are usually used. My favorite anchors are Red Heads. I like these because they can be dropped down through the hole after the safe has been placed.
Some safes have one bolt hole and some have more. Most safes have one or four depending on the type of safe. Fireproof safes many times have just one hole while steel and other security safes usually have four. Fire safes usually have one large hole in the center to help reduce the amount of holes in the safe. Each hole in a safe will allow heat in when exposed to fire which is why only one is used. For non-fire safes it makes no difference as a fire would likely burn everything inside.
If you are drilling a hole in carpet you must do something to prevent the drill from wrapping carpet threads around it and pulling up your carpet. I usually use a lighter to burn it or cut the carpet away in the area the hole will be drilled. When drilling tile or concrete you will find that the drill may walk across the floor. By first drilling a hole in a 2×4 you can use it to keep your drill bit in place. Just put the bit through the hole in the board then place the tip of the bit where you want to drill your hole. Next just sand on your board and it will keep your bit from walking across the floor and your hole exactly where you wanted it.
The tools you will need
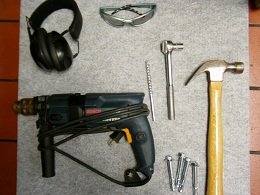
Here are instructions to bolt a safe to concrete. The same method can be used for lag bolts for wood with little change to the procedure.
Safe installation Step 1 – Place Your Safe
If you have not done so already, place your safe in its final location and be sure you like it there as it may be very difficult to move.
Safe installation Step 2 – Mark Your Holes
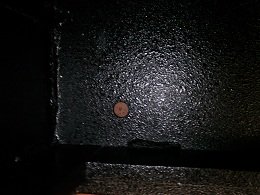
Some safes will require you to mark your holes down through the inside of the safe. Use a permanent marker that is a dark color. This is usually necessary if you can not fit the drill inside the safe to drill down into the floor. If you do need to mark your holes, be sure to also mark the floor where the 4 corners of the safe are. This will help assure you place it back and it will make it easy to align the holes for the bolts.
Safe installation Step 3 – Drilling Your Holes
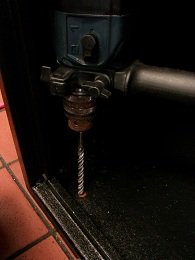
If your drill fits inside your safe, simply drill directly down through the hole. Be careful not to hit the sides of the safe while drilling. If your bit is not long enough to go past the safe and still go deep enough for the entire bolt, you will need to move the safe. Be sure to drill your hole at least ¼ inch deeper than your bolt will reach. When all your holes are drilled, proceed to the next step.
Safe installation Step 4 – Clean Your Holes
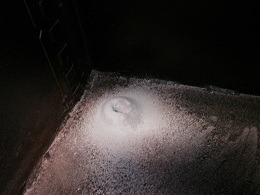
This step is important. You will need to remove all the drill dust from the hole and the surrounding area. A shop-Vac or other vacuum should be used. If you fail to drill deep enough or clean your holes out properly your bolt may not enter the hole the entire way and your safe will not end up secured to the floor properly.
Safe installation Step 5 – Insert Your Anchors
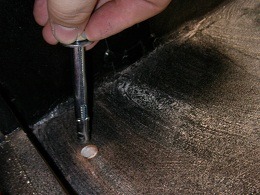
If you moved your safe, move it back to the marks you made and the holes should be lined up almost perfectly. Now you will need to drop the concrete anchors from the inside of the safe into the drilled holes. It is OK if they do not go down the entire way as they should be a tight fit.
Safe installation Step 6 – Hammer the Anchors
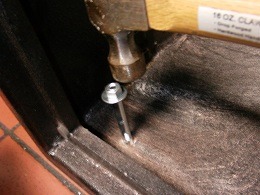
This step is not necessary if using lag bolts in wood. If you are using concrete anchors you will likely need to use a hammer and pound the bolts into the floor. Be sure you have the nuts on the end of the anchors or you will ruin the threads and will have a very hard time putting them on later. Once the bolts are pounded down as far as they will go your ready for the next step.
Safe installation Step 7 – Tighten the Anchors
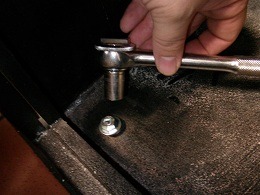
When the washers on the anchors are against the safe you are ready to tighten them up. Use a socket if you have one, an adjustable wrench will likely also work. Tighten the nuts down as best you can which will cause the bottom of the anchor to pull up against the surrounding material and force it out against the walls of the hole. This is what keeps the anchor in the floor and the safe secure.
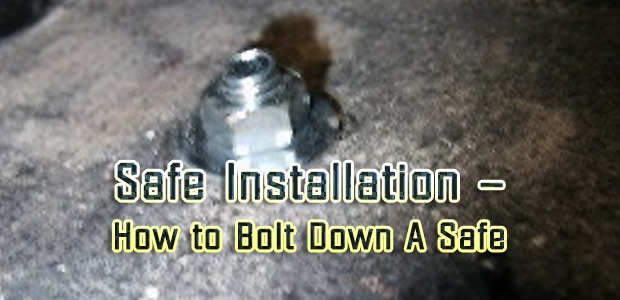
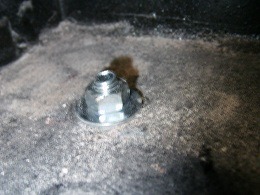
Your safe anchor bolt should look similar to this when installed properly. Your done!
Once your all done use a good carpet Cleaner spray to make sure your carpet is clean and in great shape.

